


We’ll continue our Let’s Learn EM+S series with some more configuration of our Azure AD environment. Login to your Azure portal with an account with Global Administrator rights and we’ll get started. Today we’re going to look at the following items:
- Configuring a custom domain name
- Synchronizing on-prem AD with Azure AD
- Self-Service Password Reset (SSPR)
- Company Branding
If you don’t have a custom domain name, and/or you don’t have a lab domain to test against - most of this post will probably not be applicable to you. You may want to take a look at the “Company Branding” options, but you likely won’t be able to work through the other parts with me.
If you don’t have a lab… you should build one. Super simple, and invaluable to learning new things!
 It’s an older meme sir, but it checks out…
Configuring a Custom Domain Name
First things first you need a domain name. If you don’t have one, they’re super cheap and typically for your first year you can get it for about $1. There’s a number of registrars out there for you to register with - I personally use NameCheap, for no other reason than they were running a good special when I got started.
You are also going to need access to the DNS records for your domain. Most registrars will also give you the ability to manage DNS without purchasing an additional hosting package. Part of this process will be adding a TXT record to your domain’s DNS records to validate that you own the domain. If you’re unfamiliar with how to do this, your registrar will be able to help you.
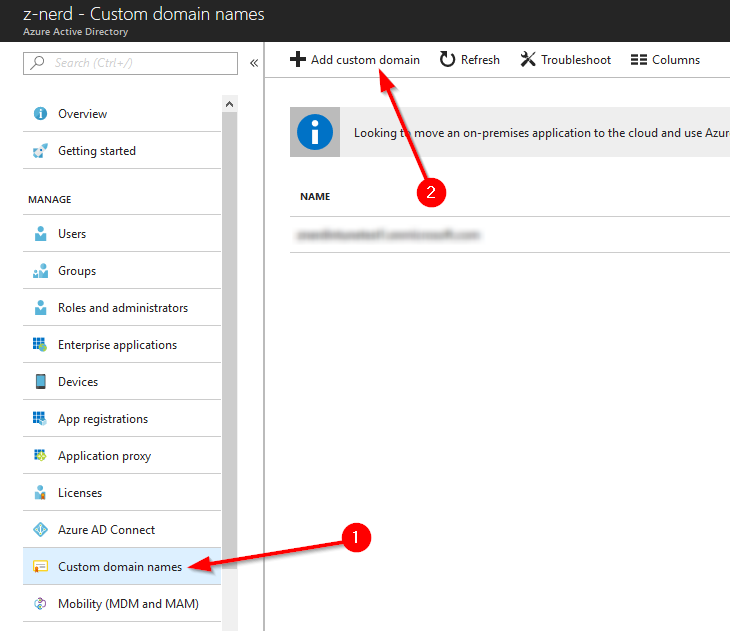
Login to the Azure AD portal and click on the “Custom domain names” button. Yes, that is plural - you may have more than one custom domain attached to an Azure AD tenant, however, only one may act as the primary. Once in the “Custom domain names” menu, press the “Add custom domain” button.
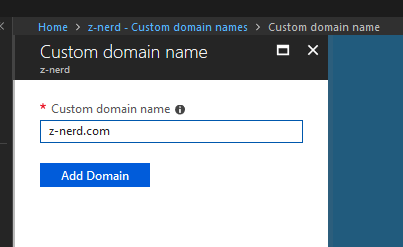
Now input the domain name that you wish to add as a custom domain and then press the “Add Domain” button.
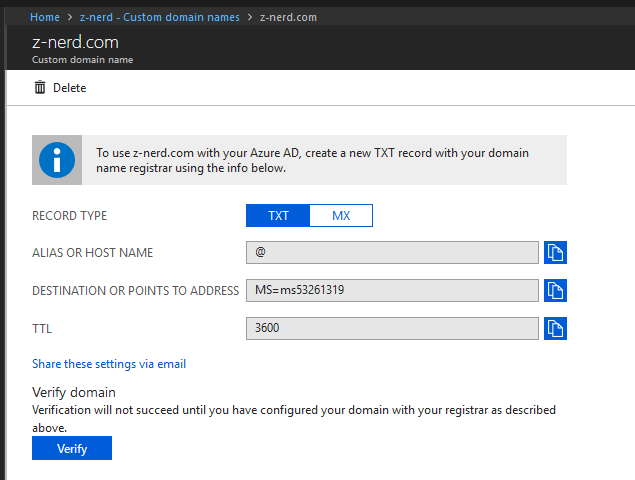
You will be taken to a page to validate your ownership of the domain. Add the required information to your domain’s DNS records and then wait for the records to propagate. It takes about 30 minutes for my site to validate. You can test it using an online service like MX Toolbox or if you’re feeling particularly randy you can do it using nslookup.
nslookup -type=txt domain.com
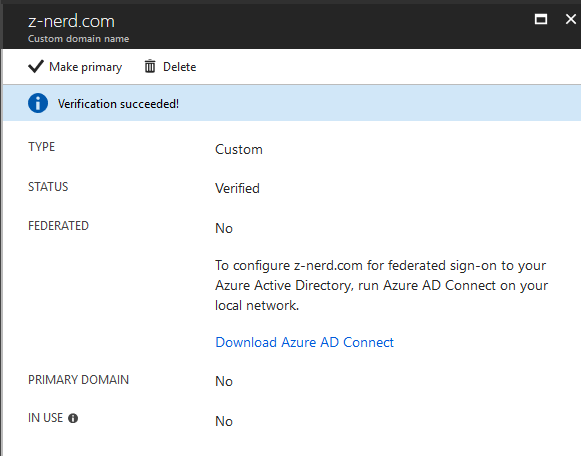
Once your txt record shows up, you can press the “Verify” button.
Now that your domain is validated, you can make it your primary domain if you want.
Also now we can setup Azure AD Connect - which surprise, surprise - is what we’re going to talk about next.
Synchronizing on-prem AD with Azure AD
You can synchronize an on-prem AD with Azure AD - this should come as no surprise as it will allow you to use the benefits of Azure AD without having to give up your on-prem AD. There is a caveat however: If you use a non-routable domain (such as lab.local) then your accounts will not be able to logon using their standard user principal name (UPN). Instead these users will be converted to username@_______.onmicrosoft.com where the blank is whatever you configured your Azure AD instance to. I hope that if you have your own domain, you’re using that as your forest or domain root in your lab. If not, it might be a good idea to stand-up a new lab for this demo, or possibly migrate your domain to a routable top level domain (TLD) that you own (like .com, .net, etc.). It’s not a requirement to follow this procedure, but will benefit you in the long run as you learn about EM+S.
With that said - on a machine in your lab (I use my DC, although it’s not required to install it on a domain controller) install Azure AD Connect. Just pick a machine that will be on all the time for synchronization. You can get the installer from here. After installing the Azure AD Connect tool it will automatically launch.
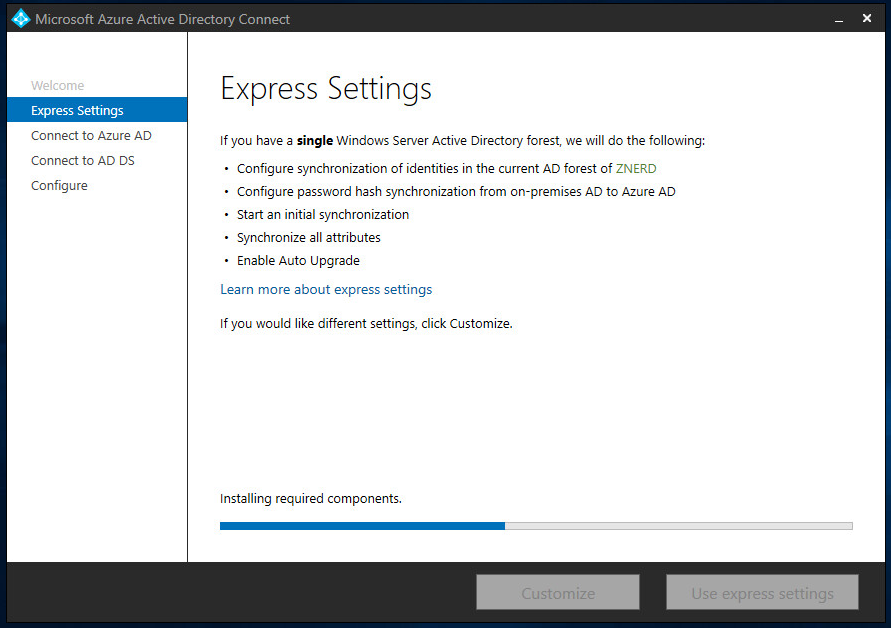
After the installer launches you can click ahead to the “Express Settings”. For our demo we’ll use the express settings, but you can configure a custom install location, an existing SQL server, an existing service account, and custom synchronization groups if you wish. Press the “Use express settings” button to continue.
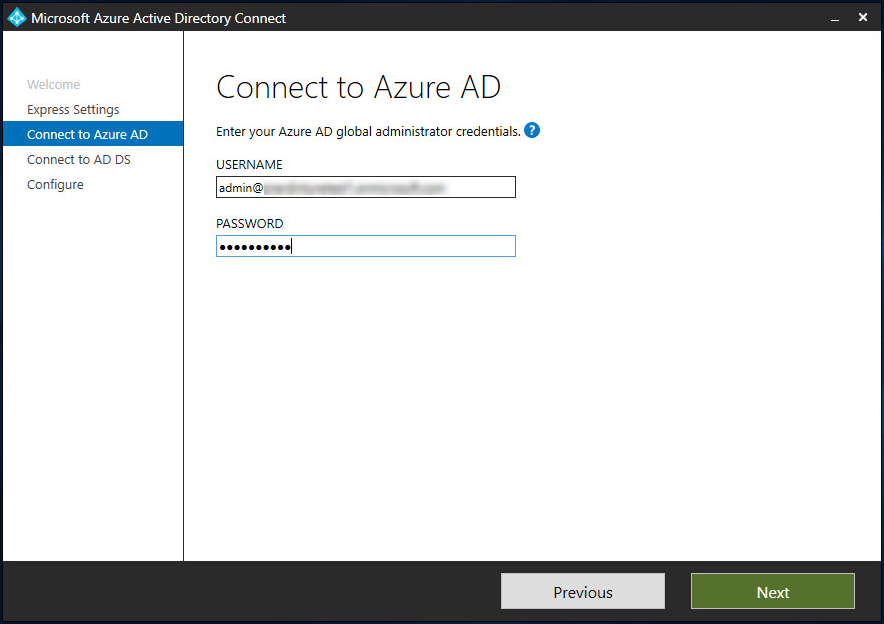
Now you’ll need to logon with your Global Administrator account for your Azure AD tenant.
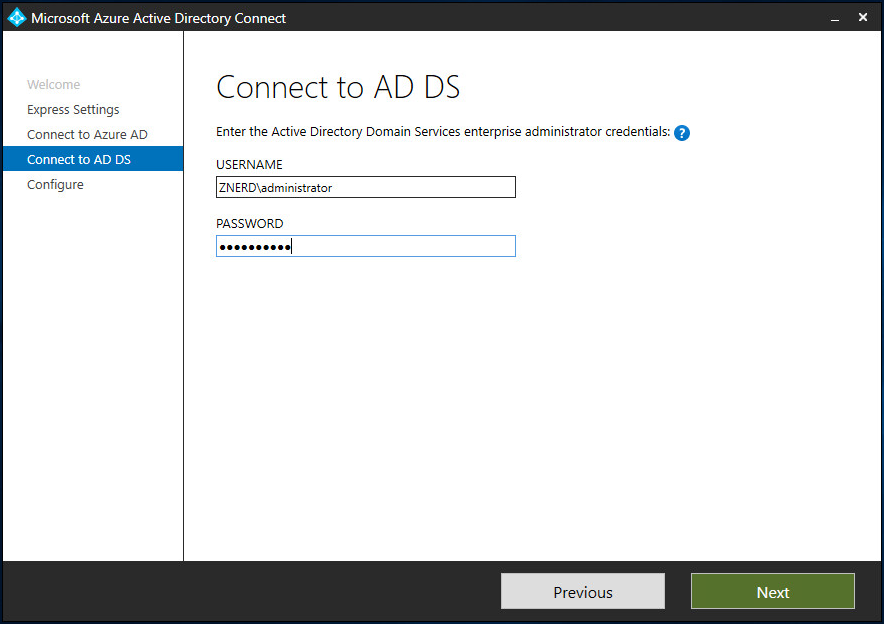
Next you’ll need an enterprise administrator account for your domain.
Now you’re ready to install all the required components. If you want to postpone the synchronization (to configure things like which OUs and containers to synchronize) untick the box to “Start the synchronization process…”

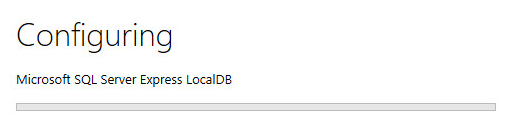
Once you click “Install” it will install a number of components including a synchronization service and if you didn’t specify a SQL server, a SQL Server Express LocalDB as well.
After the synchronization is completed, you will see a new account show up in your Azure AD tenant for synchronization purposes (unless you specify a different service account in the custom settings).

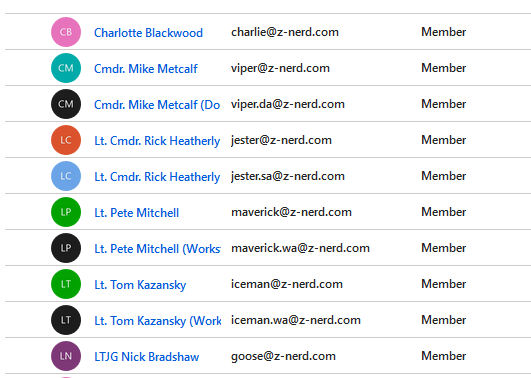
After a few minutes (depending on the size of your on-prem AD) you should see accounts begin to populate in Azure AD).
Congratulations! Now you’re synchronizing your accounts up to Azure AD! This includes the hash of the password so your users be able to logon to services that you configure. But what about if a user forgets their password and needs to reset it? They could call the Helpdesk, or maybe you could empower your users to do it themselves.
Configuring Self Service Password Reset (SSPR)
Here’s the awesome news about SSPR - it’s amazingly easy to setup. Essentially we need to enable “password writeback” to our on-prem AD via the Azure AD Connect service, and then enable SSPR for all users or select groups of users.
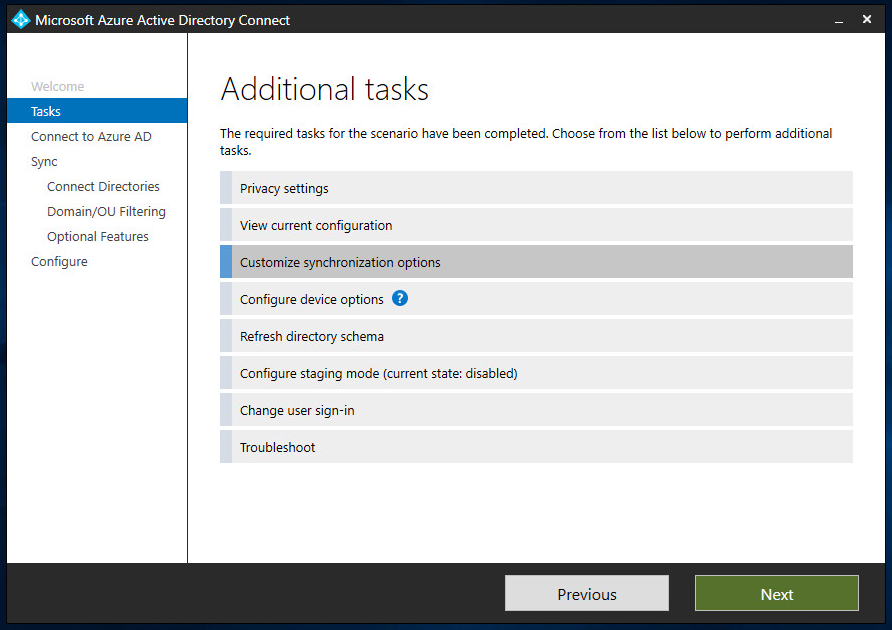
Run the Azure AD Connect app from the machine that you installed it on. Press “Configure” and then we’ll select “Customize synchronization options” and press “Next.
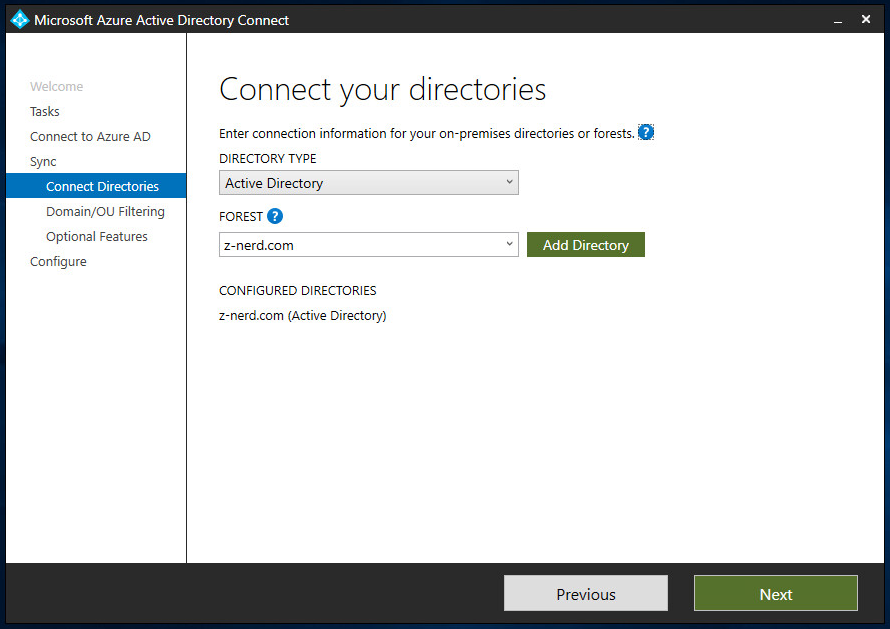
Connect to your Azure AD instance with your Global Admin account and press “Next”. Choose the forest that you want to change and then press “Next”
If you want to change your filtering options for the forest you can do so here as well. Once you’re satisfy what you’re syncing press “Next”.

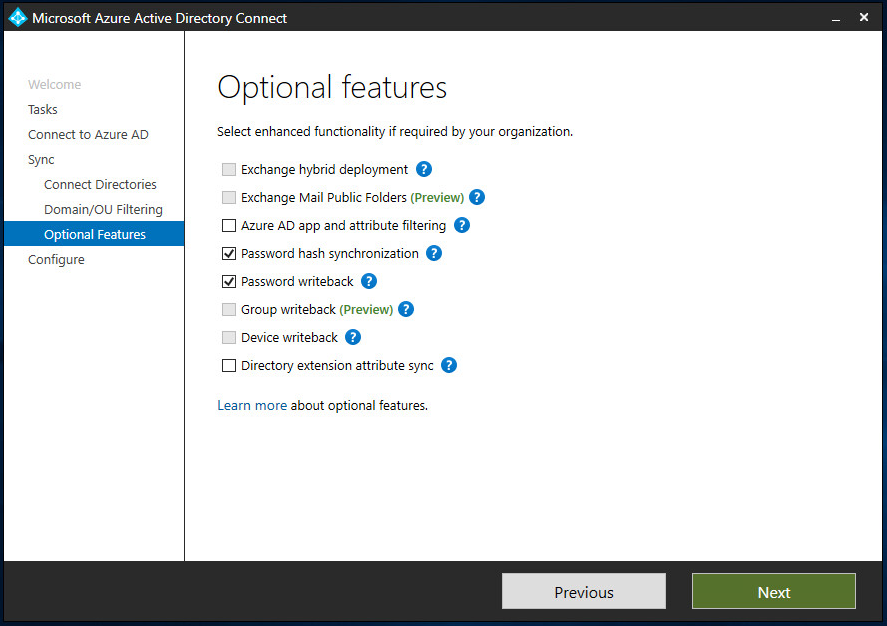
Now here’s the important part - on the optional features page tick the box for “Password writeback” which will enable passwords changed or reset online to be synchronized back to your on-prem AD. Press “Next” and then we’ll be ready to configure the Azure AD tenant.
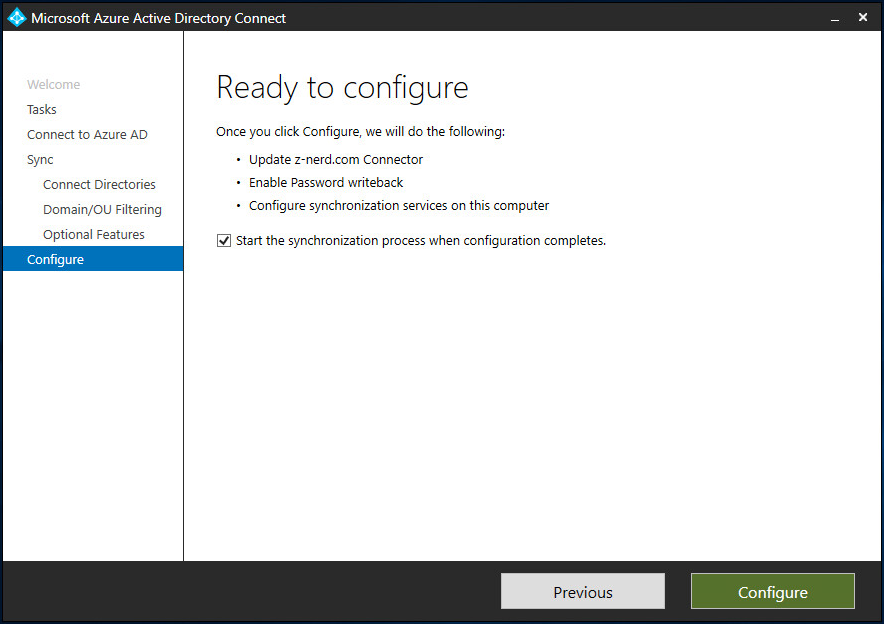
Untick the box if you don’t want syncing to happen right away, otherwise press “Configure” and the process update your tenant.
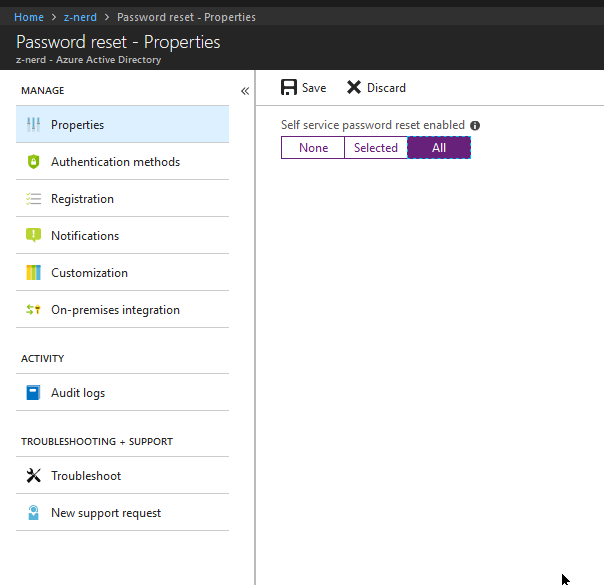
Now let’s logon to our Azure AD portal. Locate and press “Password reset”. On the properties page configure which users you want to enable SSPR for. In some cases you might want to limit the ability to reset passwords to certain users (like non-administrators) - as long as you can configure the Azure AD group(s) with the users you want to allow, you can use the “Select” option. For our demo we’ll use “All”.
Next click on the “Authentication methods” link and choose the number of authentication methods you’d like to configure and the types of methods. I like to require two methods, because if the user lost their phone or someone had access to their e-mail account I feel like this might give a little bit of extra security. Press the “Save” button when you’re done.

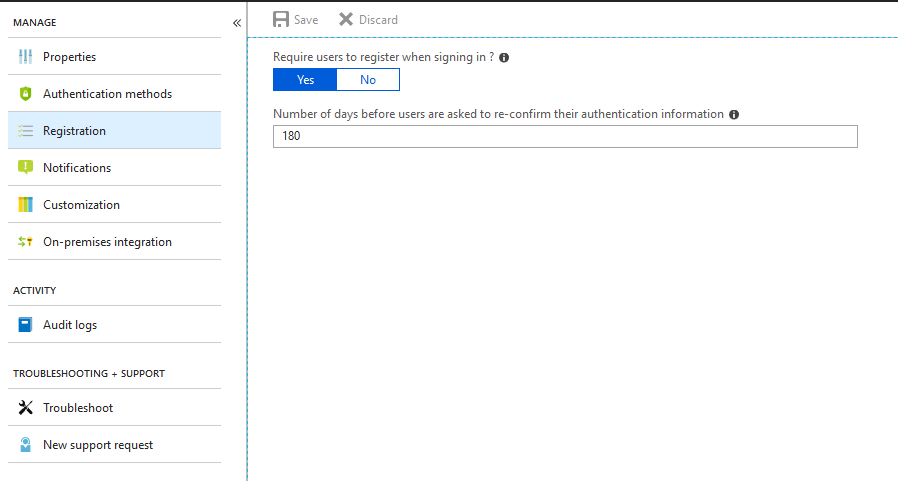
Now click on the “Registration” link and decide whether or not you will require users to register when signing in (if you do not configure this option you will need to populate the appropriate fields in each user account in Azure AD). Also choose an amount of time before the user has to re-confirm their information - the default is 180 days.
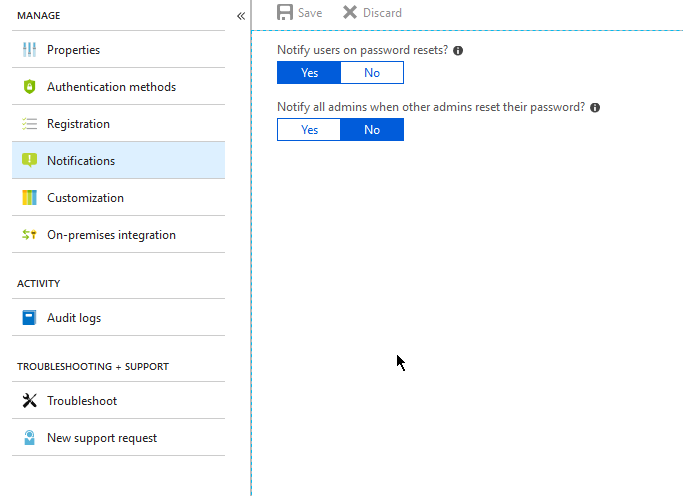
Click on the “Notifications” link and choose whether you want to notify users when their password is reset, and whether you want to notify all administrators when another admin resets their password.
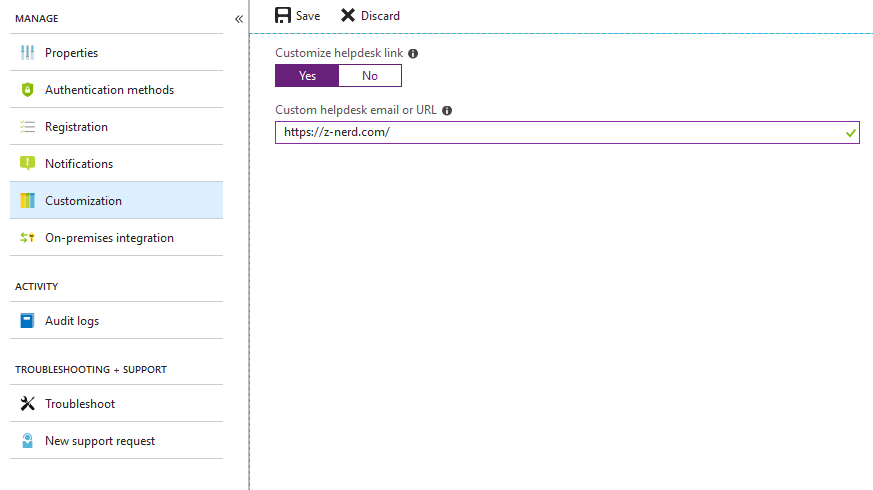
Next click on the “Customization” link and you’ll be given the option to provide a link from the SSPR to your Help Desk or an email address.
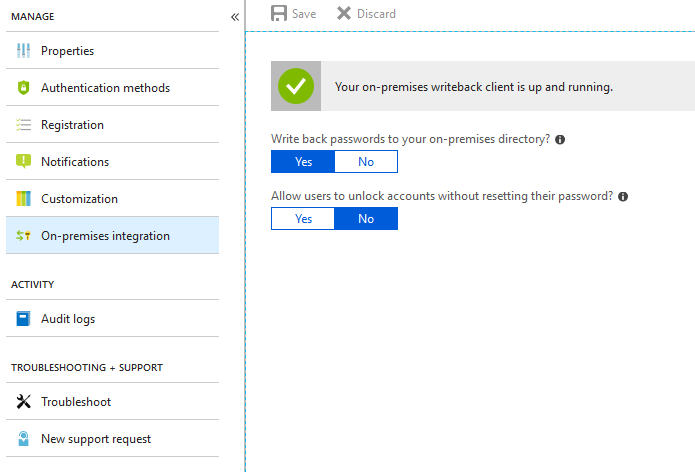
Finally click on the “On-premises integration” link and validate that you are writing back passwords to the on-premises directory. The other option gives the user the ability to unlock their account or not. If you configure this to “No” the account will unlock automatically when resetting the password.
That’s it! You’ve now configured SSPR. You don’t want to live with the default Microsoft branding on your landing pages though do you? I didn’t think so!
Configuring Company Branding
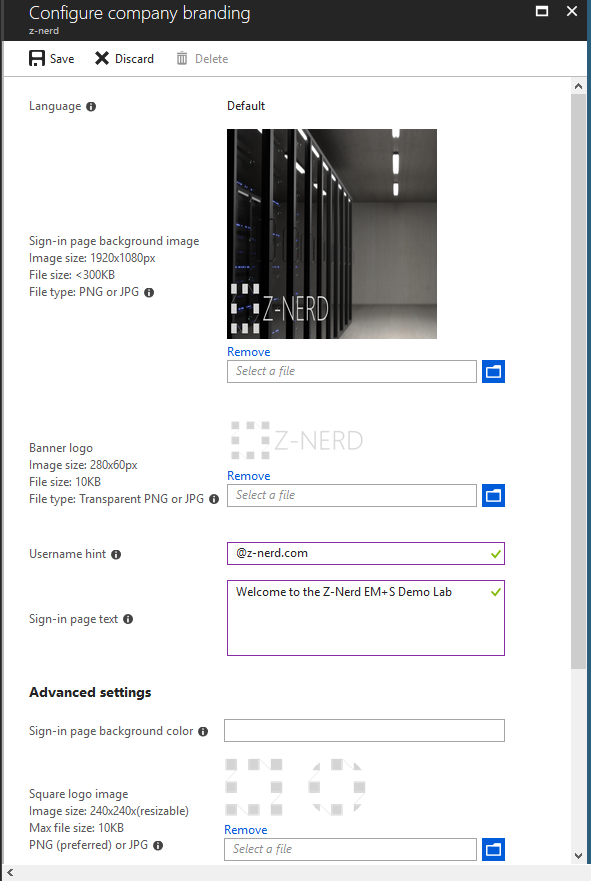
Your company branding involves the following items:
- A sign-in page background image. Needs to be a PNG or JPG, 1920x1080px, and less than 300KB.
- A banner logo that will show up at the top of the username and password field. Transparent PNG or JPG, 280x60px, and less than 10KB.
- A username hint - if you want. This will show up in the username field of the sign on page before you type a username in.
- Some sign-in page text - to be shown on the sign-in page.
- A sign-in page background color to load if the image cannot be loaded.
- A square logo image for both light and dark themes. PNG or JPG, 240x240px, and less than 10KB.
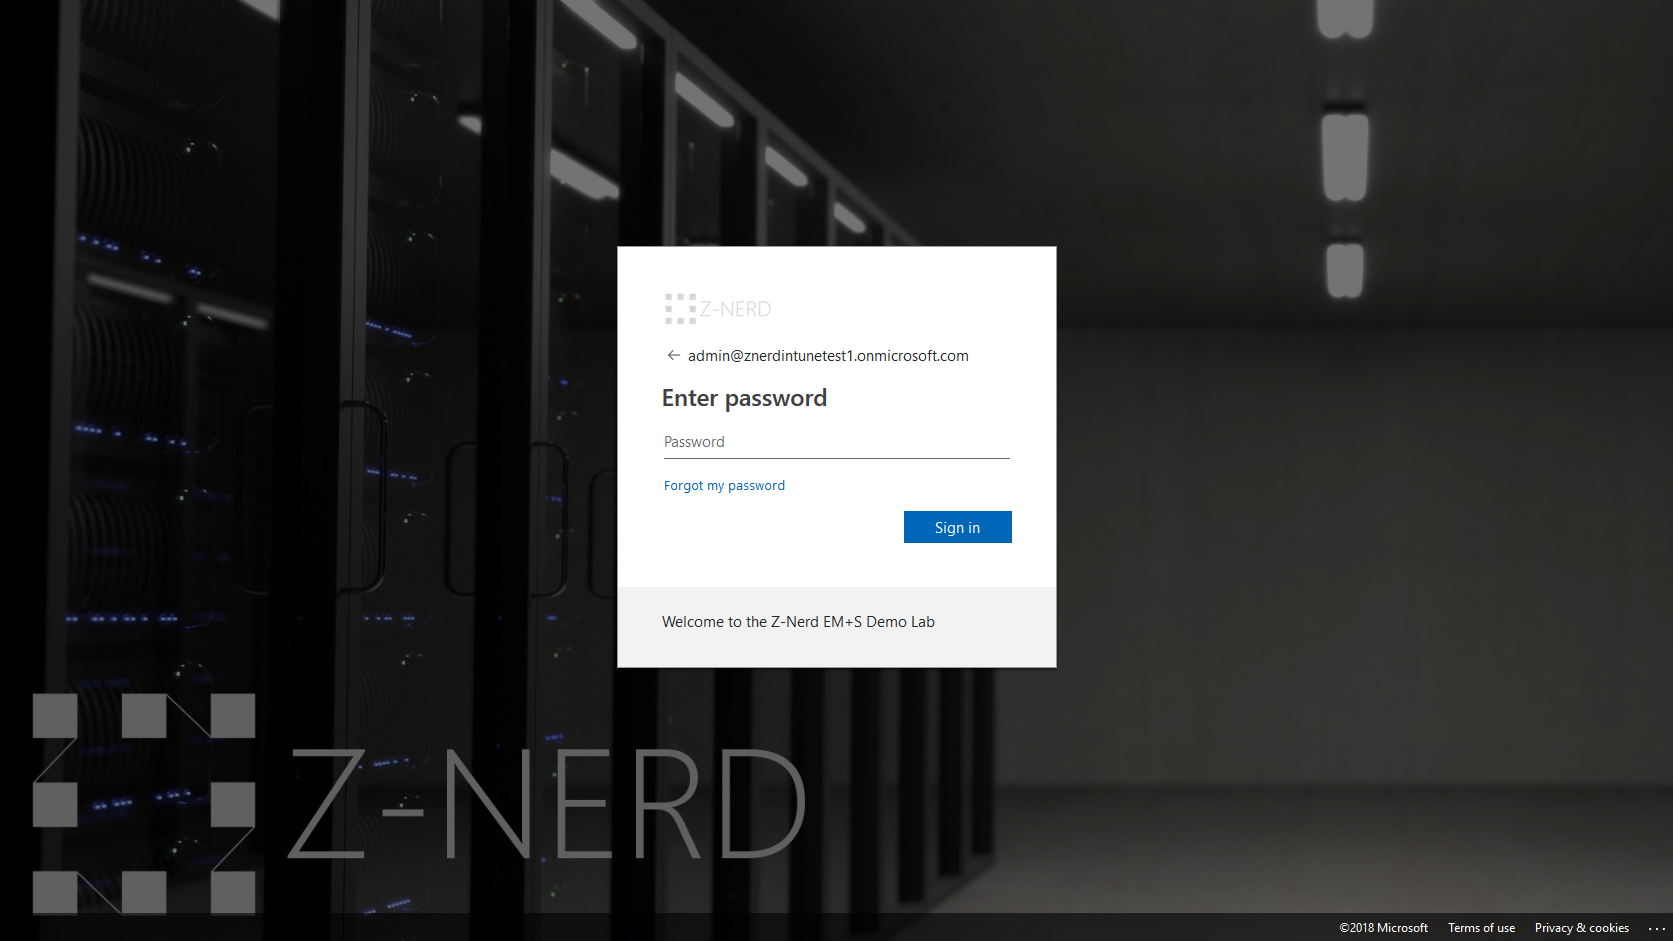
Logon to the Azure AD Portal then find and click the “Company branding” link. On the landing page press the “Configure” button.

You’ll be presented with all the options described above, so now you can just fill out the fields and then press the “Save” button.
Now you can visit your logon page and you’ll see all the things you configured.

Closing Thoughts
Well now - we’re pretty much done with our initial setup of Azure AD and now we can start getting into some of the fun things that EM+S has to offer us. Things like Intune, Conditional Access, MFA, and more.
I encourage you to continue to poke around your Azure AD tenant, and until next time… Happy Admining!
Share this post
Twitter
Facebook
Reddit
LinkedIn
Email