


If you’re unfamiliar with Microsoft’s new application packaging format, I suggest you take a look at this breakout session from Microsoft Build this year: Channel9 - Build - BRK2432. It is about an hour long (before Q&A), but there is a lot of good information in there.
Or rather, if you’re pressed for time, here’s the tl;dr:
- In the traditional Win32 app model, you basically had full trust of the operating system. Obviously permissions would be limited, but technically if you had the rights to it as a user you would have the rights to it from the application (the example they use is technically notepad.exe could format your hard drive if it wanted to). In the MSIX model trust is given, not assumed and the application is containerized. Just realize that there is more security with MSIX.
- The installs are per user. However, only one copy of the binaries are kept on a machine at a time. So even if you install it for multiple users, it only ends up on the system once. There will be a method to install the applications for multiple users one time.
- Pushing an update to an MSIX install is similar to binary differential replication in ConfigMgr. It will only push the pieces of the application that have changed - and it does this all the way down to 64Kb chunks. So imagine being able to update an application like Adobe Reader in a matter of seconds instead of minutes.
- Every file is hashed and then those hashes are stored in a table in the MSIX which is protected with a digital signature. This way you can guarantee integrity of the application and not allow it to launch if you detect that someone has messed with it.
- Customizations to the application will be made via special modification packages, essentially decoupling the app development from any customizations you might want to make as an IT pro. This is in an effort to reduce the repackaging efforts enterprises go through every time a new version of an application is released.
- Microsoft is guaranteeing clean uninstalls. No trace style uninstalls. I’m assuming this is due to the fact that everything is virtualized sort of like an App-V package, but I’m not 100% sure of that yet.
Basically, it’s the best parts of App-V, MSI, ClickOnce, UWP, and Appx all rolled into one new fancy file. And it’s likely you’ll eventually touch one of these files, so it’s good to learn now.

Creating Your First MSIX Package
First things first, if you’d like to walk along with this tutorial you’ll need to be part of the Windows Insider program. The MSIX Packaging Tool is only available for Insiders and requires Windows 10 RS5 build 17701 minimum. I’d also recommend doing this from a clean VM since it is similar to traditional App-V (where the system takes a snapshot before and after installation).
Part of what we’ll need to test the installation later is a code signing certificate, so we’ll create that first. Since I’m assuming you’re running the latest Insider branch, I know that this PowerShell command should do the trick:
New-SelfSignedCertificate -CertStoreLocation cert:\currentuser\my `
-Subject "CN=Test Code Signing" `
-KeyAlgorithm RSA `
-KeyLength 2048 `
-Provider "Microsoft Enhanced RSA and AES Cryptographic Provider" `
-KeyExportPolicy Exportable `
-KeyUsage DigitalSignature `
-Type CodeSigningCert
If you’re testing in a production environment with a PKI, you may choose to create a certificate which will already be trusted by your environment. I won’t cover that process here, but know that the certificate will have to be added to Trusted Publishers for any computer you want to test the MSIX on.
Make note of the certificate serial number because we’ll need to export the certificate for use by the packager. After you create the certificate we’ll need to export it. Unfortunately because of a limitation of the current version of the MSIX Packaging Tool, you have to export the PFX without a password (possibly with a group or user security if your device is joined to a domain). Hopefully this is fixed in a future release.
To export the PFX without a password use the following command:
certutil -exportpfx -p "" my SERIALNUM C:\path\to\cert.pfx noroot
IMPORTANT: This is extremely insecure. I don’t recommend doing this in a production environment.
Okay, now that we have our certificate and have installed the MSIX packaging tool it’s time to launch the packaging tool. Find it in the start menu and run it.
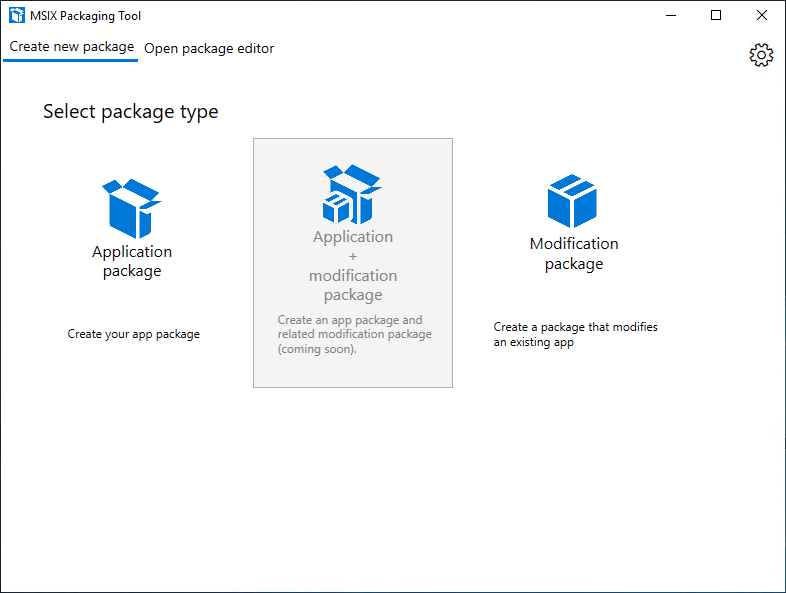
Click on “Application package”
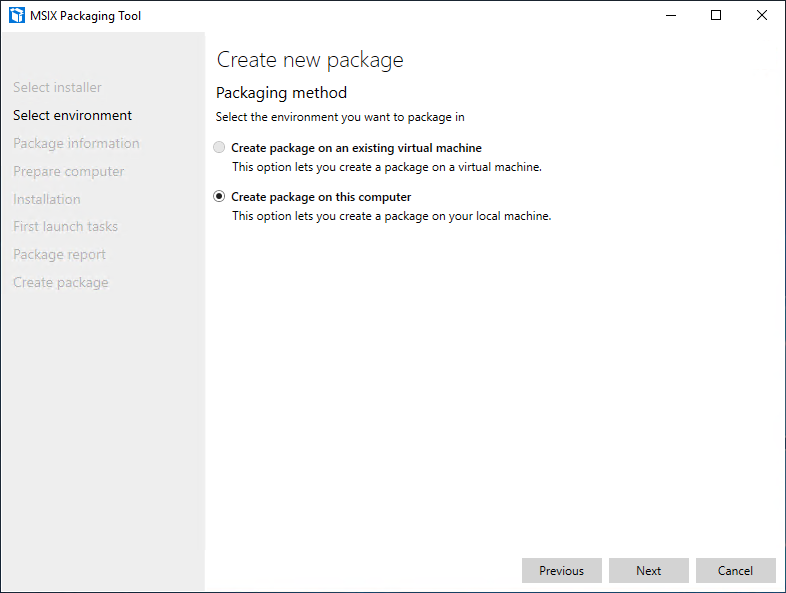
Currently creating a package on a remote virtual machine is not supported, so choose “Create package on this computer” and then press “Next”
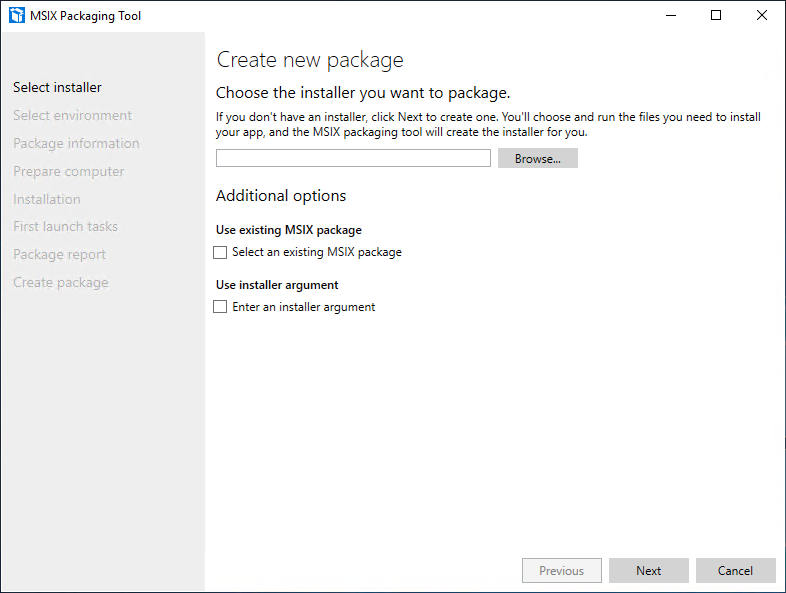
Now for this demo I’m using the Google Chrome MSI installer, but you can use any MSI you want to use. Find the MSI using the “Browse…” button and then press “Next”
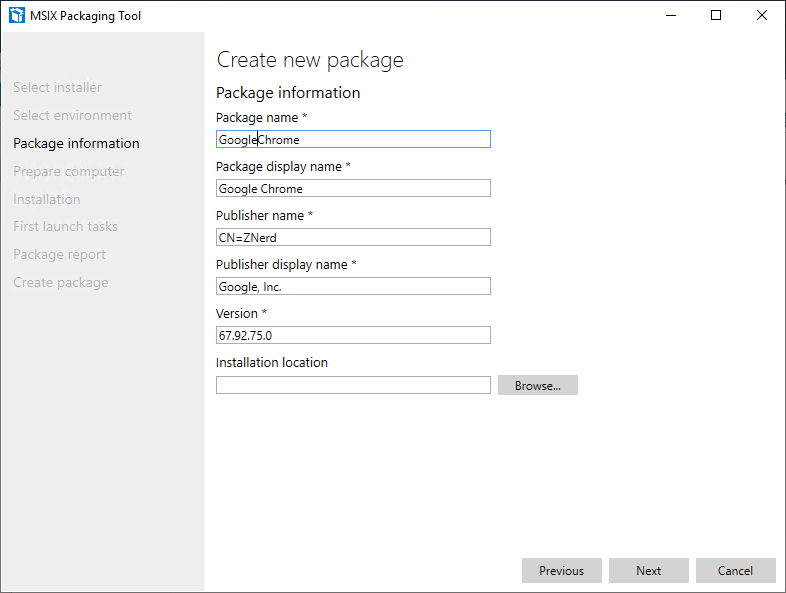
It will ask you to enter some information about the MSIX file you wish to create. There are three important things that have to be considered here:
- The package name cannot have any spaces, and you should do your best to make it unique because this is how modification packages will know what to apply to.
- The publisher name should match the certificate subject name. If it doesn’t the package will not be able to be signed.
- The version has to be a four part version.
Once you’ve entered all that information you can press “Next”
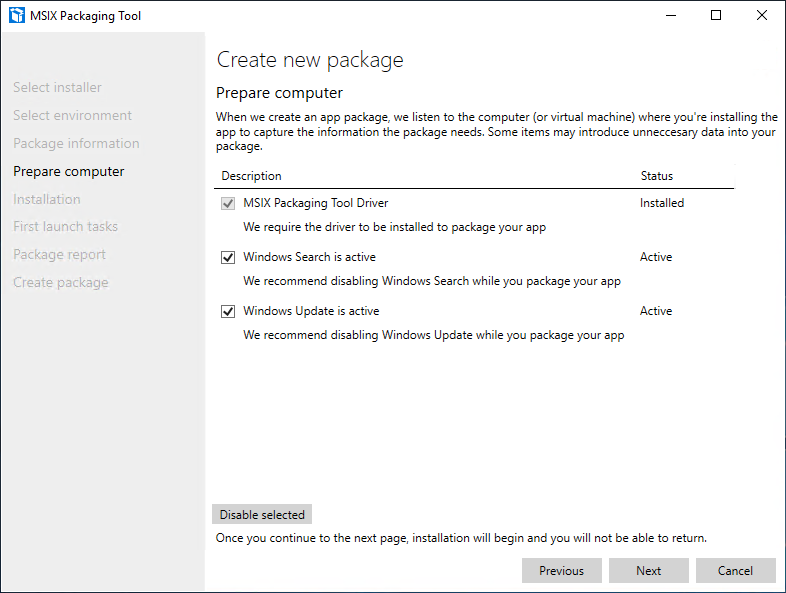
You’ll be instructed to disable some services. You can just check the box and then press “Disable Selected”. Once that is done, press “Next” and the installation will begin.
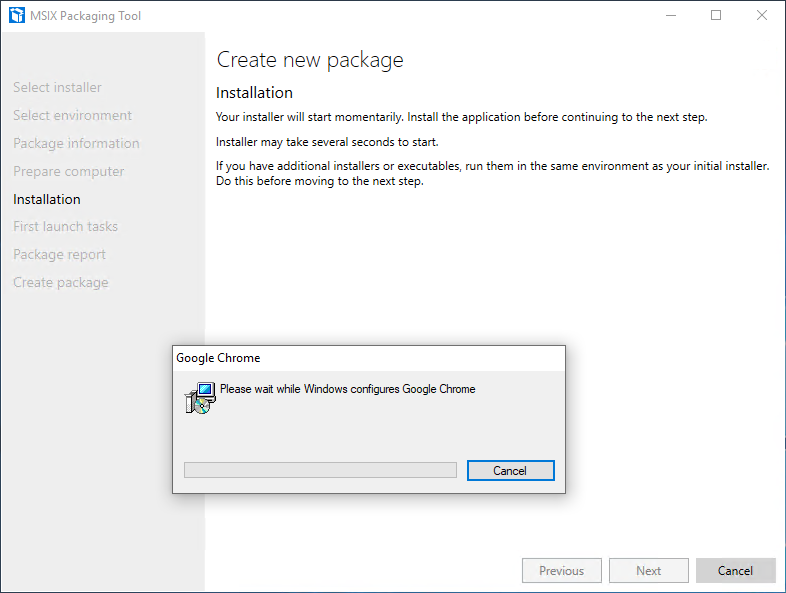
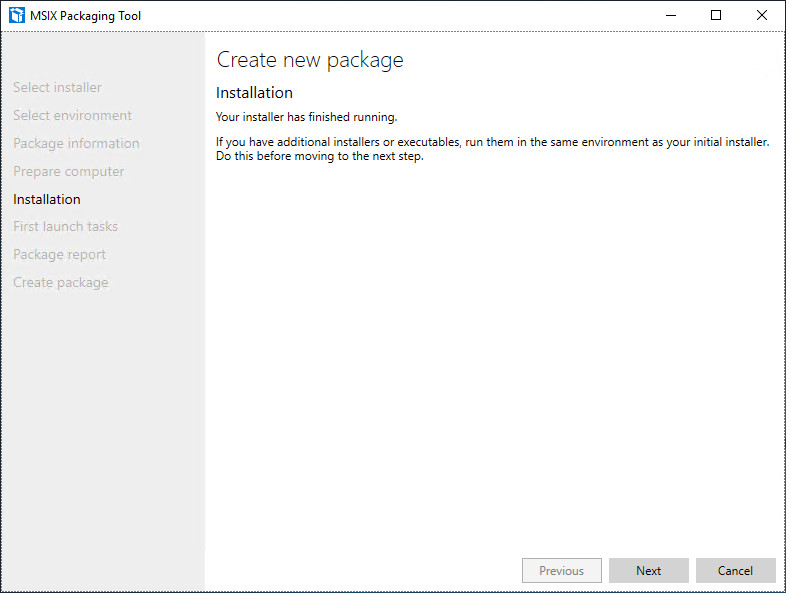
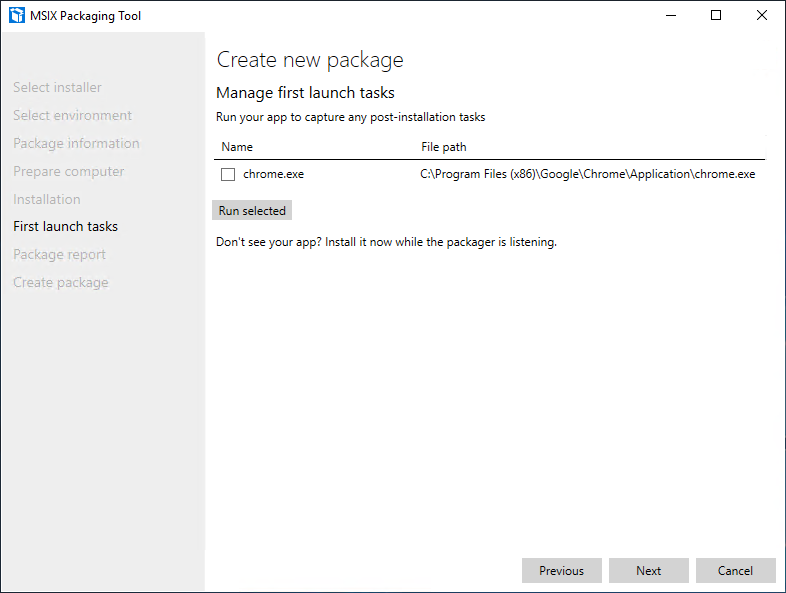
After the installation is complete you will be prompted to run any additional installers (like plug-ins). Once you’re done press “Next” and you will be prompted for first launch tasks.
Run the selected executables and let the application launch. Once the application is launched and you’ve run any post-installation tasks you can close the app and then press “Next”.
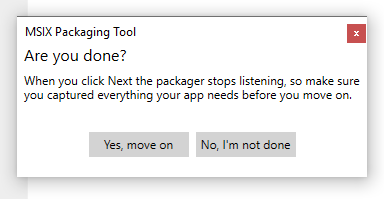
You will now need to confirm that you are done. If you’re done, press “Yes, move on”
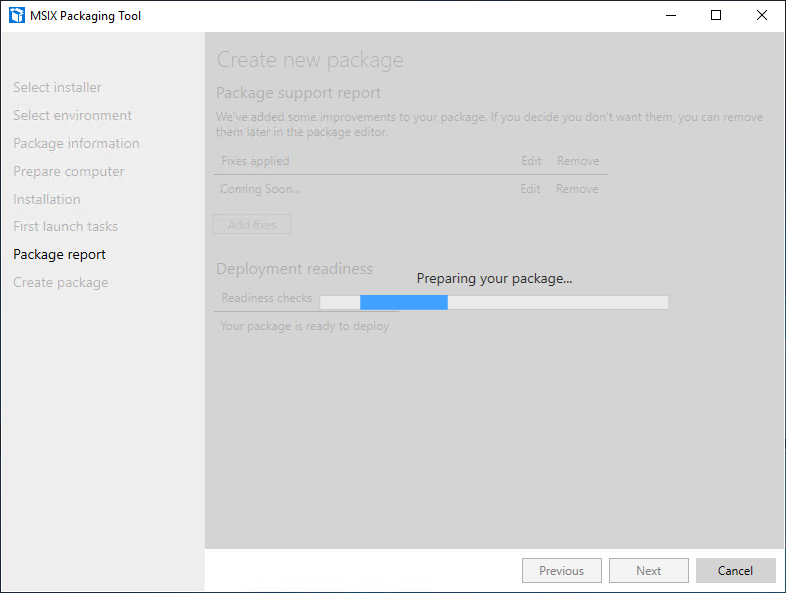
It will take some time for the package to be prepared.
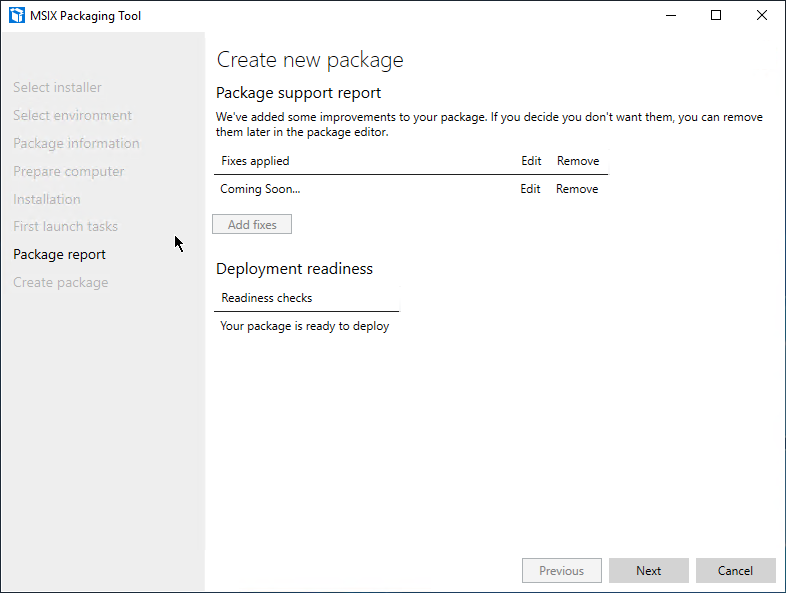
Once it’s prepared you will be asked to verify some automatic fixes which were applied to your package - however, currently this feature is not supported. Press “Next”
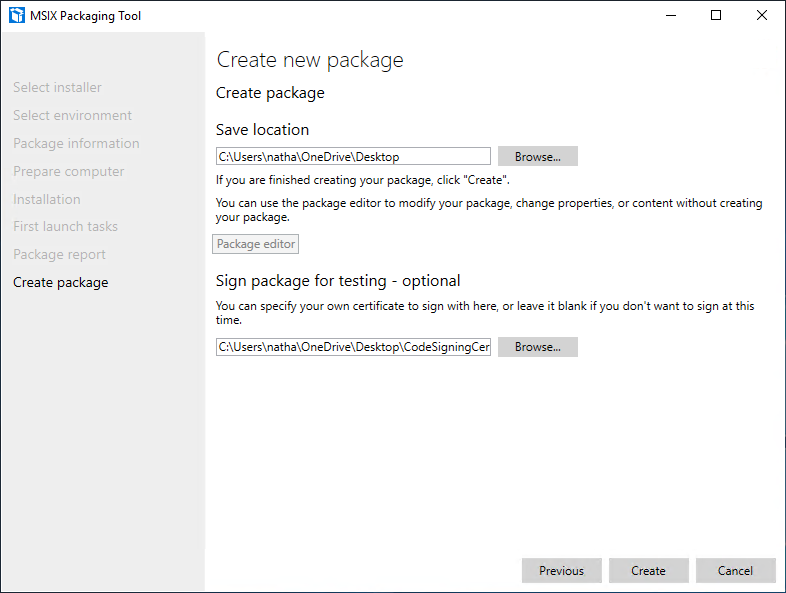
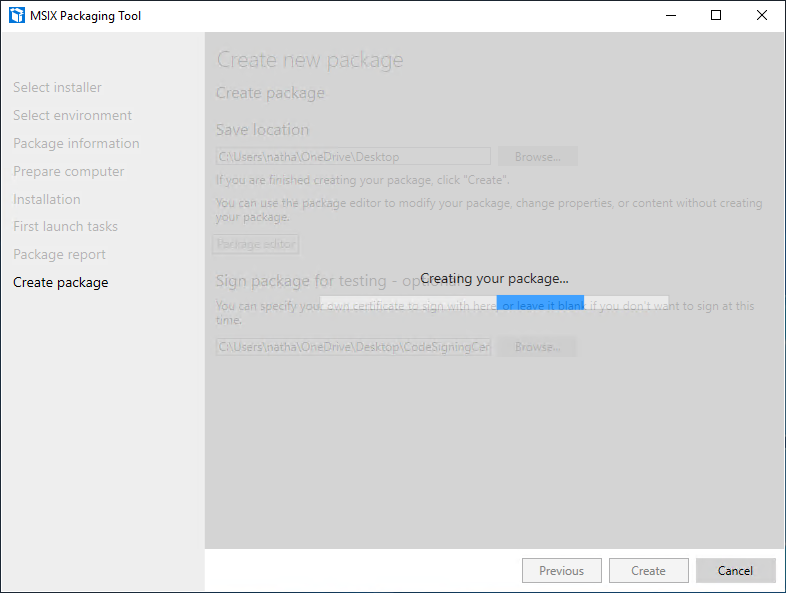
Finally you’ll choose a location to save your MSIX and also choose the code signing certificate that we created earlier. Input the information into the two fields and then press “Create”
Your package will now be created.
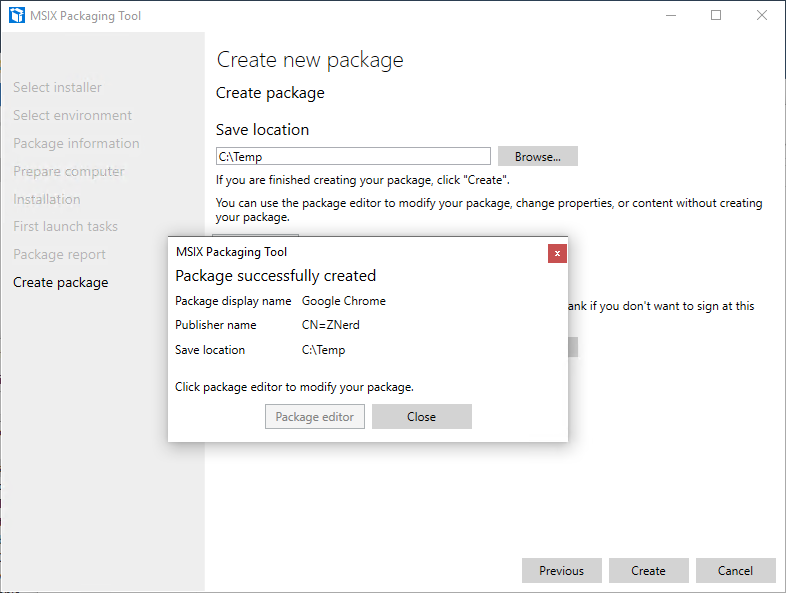
When the process is done you’ll see a message indicating success. Now we can test it!
Testing Your Package
To test your package all we need is a clean machine with the Insider preview of Windows 10 installed. Copy your MSIX to this machine and double click to begin the install.
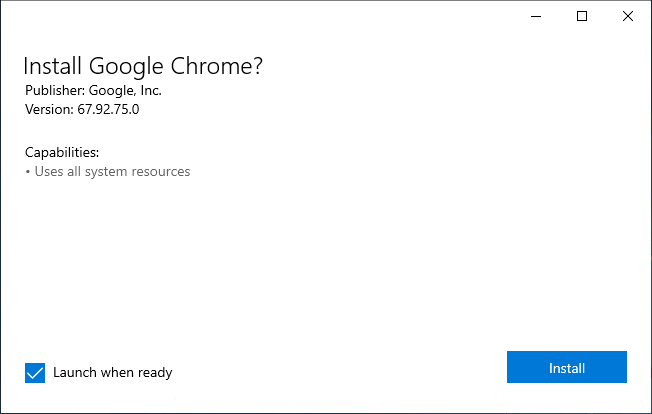
Once the install is complete, you’ll be able to launch the application just as if it was installed via the MSI.
Final Thoughts
There are still some kinks to be worked out with this system. When I packaged Google Chrome the icons didn’t show up properly for the shortcuts or when launching the application. In addition to that the previously mentioned certificate issue is a pretty big deal too. In a future post we’ll talk about creating an MSIX when you don’t have an installer to work with. In the meantime for more reading on MSIX you can:
- Join the Tech Community
- [Review the GitHub Project] (https://github.com/Microsoft/msix-packaging)
- Watch the breakout session: Channel9 - Build - BRK2432
Until next time, Happy Admining!
Share this post
Twitter
Facebook
Reddit
LinkedIn
Email