


Well it’s been awhile since I released a blog post - aside from me sneakily re-releasing part two of this series (to change install to XenServer instead of ESXi for no other reason than I wanted to try something new). Much has happened (SCCM 16xx, Server 2016, Windows 10 Anniversary Update), but especially after attending Microsoft Ignite 2016 in Atlanta and talking to other desktop analysts and engineers I’ve decided that this series is just too important to pass up. It’s time to face your fears and build your own lab - including AD, DNS, DHCP, you name it. For most of you it’s probably not a fear - for some of you maybe you just don’t care - but I think it will become increasingly important to our jobs as the lines between desktop and server become blurred.
Look - for those of you who are afraid “servers are just too far out of your league” I’ve got news for you: they’re not. If you can build and configure a desktop OS, I promise you that you can understand servers. You may not be an expert in the technology, but just having a basic understanding of some of the underlying technologies that allow you to “network” inside your company will help you communicate with your server team that much better. Okay - I’ll step off the soapbox now.
Today is all about putting those final touches on our XenServer installation that we did in part two, and then we’ll finish it off by creating a router for our virtual LAN in our virtual LAB. Bear with me - it’s a long post, but I promise it’s mostly pictures!
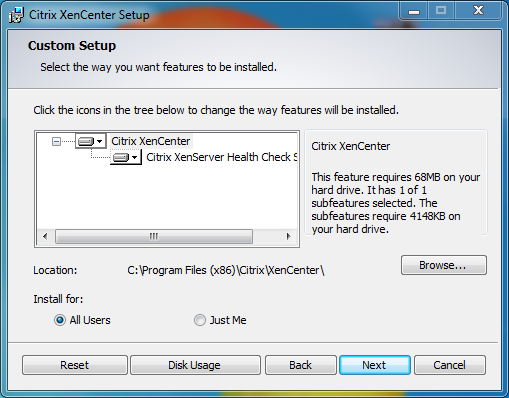
Next select “All Users” unless you have a real reason to limit it to a single user:
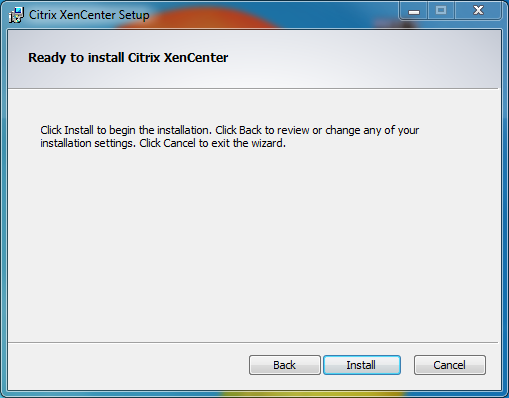
And finally click the “Install” button:
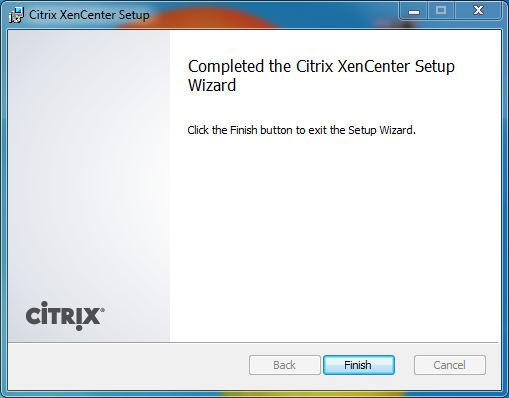
You may press finish, unless you like to live forever in the moment.
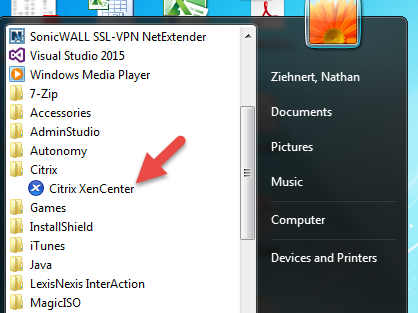
Next, go ahead and launch Citrix XenCenter from the start menu:
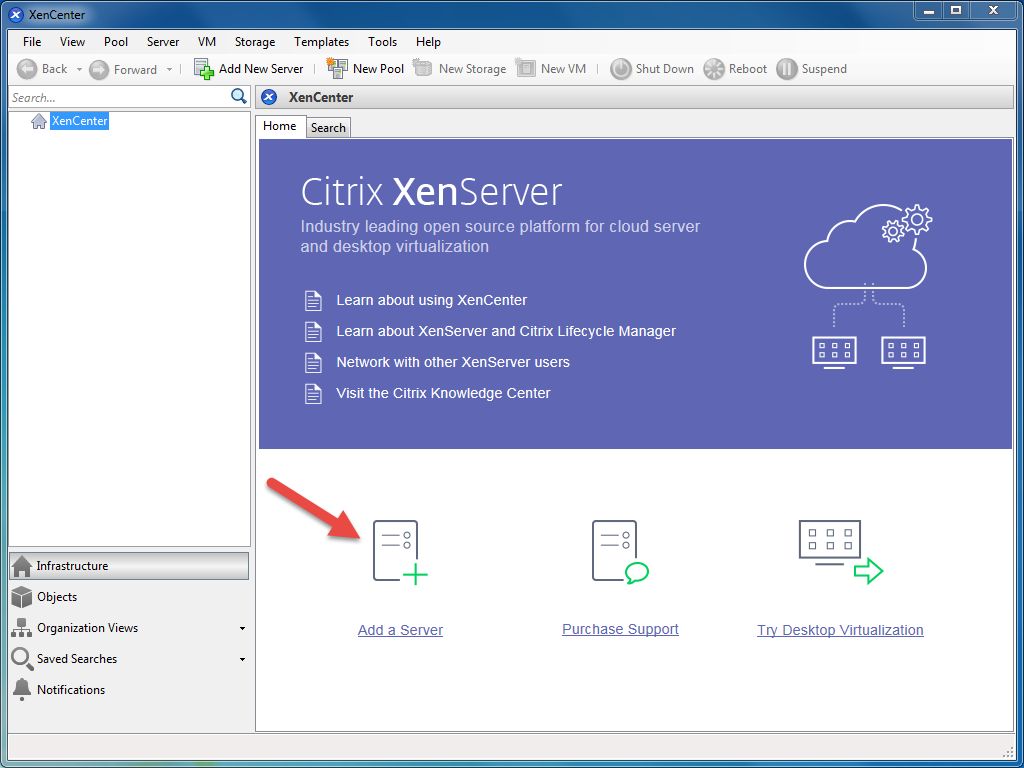
And now, we’re going to “Add a Server”
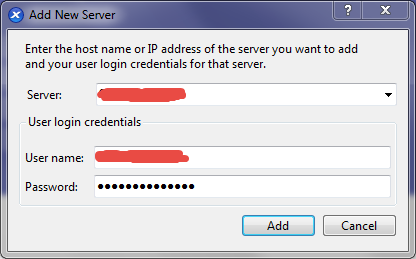
You’ll need the IP address (or DNS name potentially) of the server we created in the last setup. Also your “User name” (probably root) and password (hopefully not password but I won’t judge).
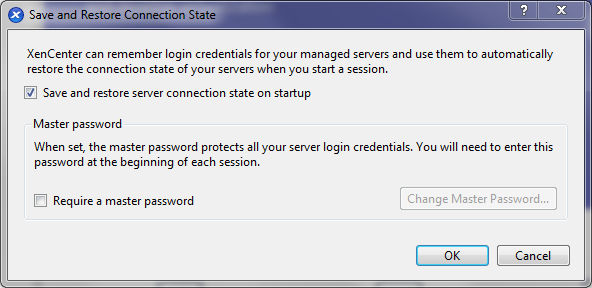
You’ll be prompted whether or not you want to save your connection state - I’d recommend it. If you’re feeling extra paranoid about your lab you can still require a “master” password.
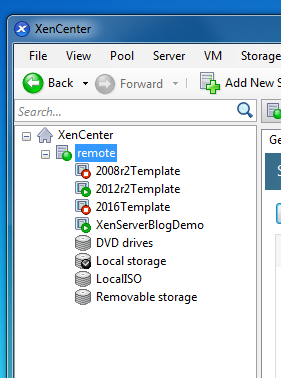
And that’s it! Your server is now listed and manageable in XenCenter
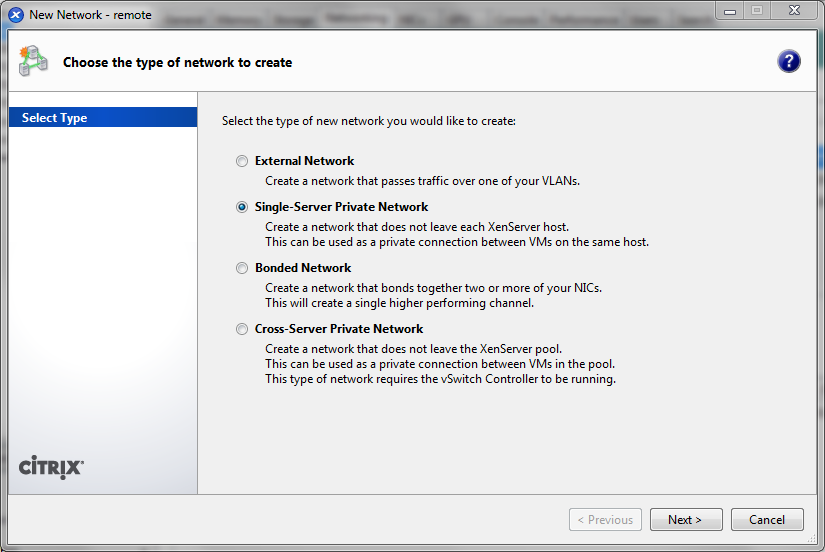
Next select “Single-Server Private Network” (mind you that this means local to the XenServer you’re not, NOT limited to one VM).
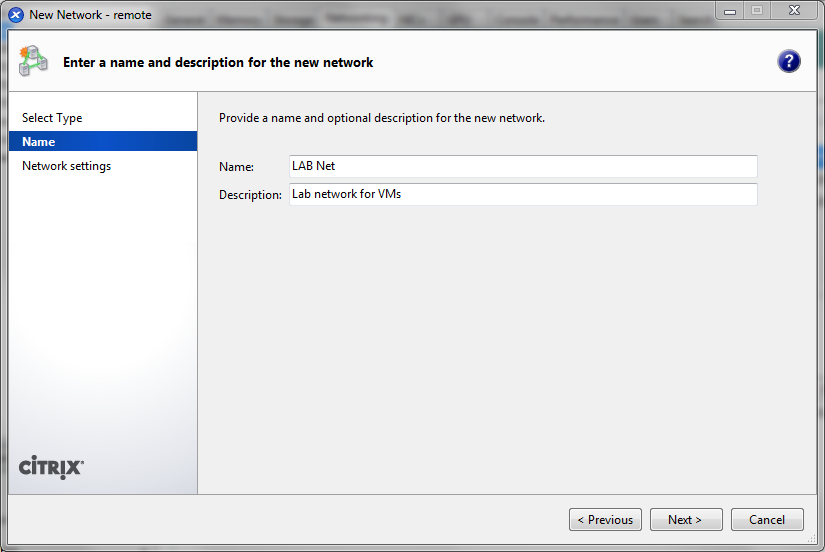
Give your network a recognizable name:
And finally press “Finish” - or you can also check the box to have this network automatically added to new VMs. I didn’t in the screenshot, but that is normally what I would do!
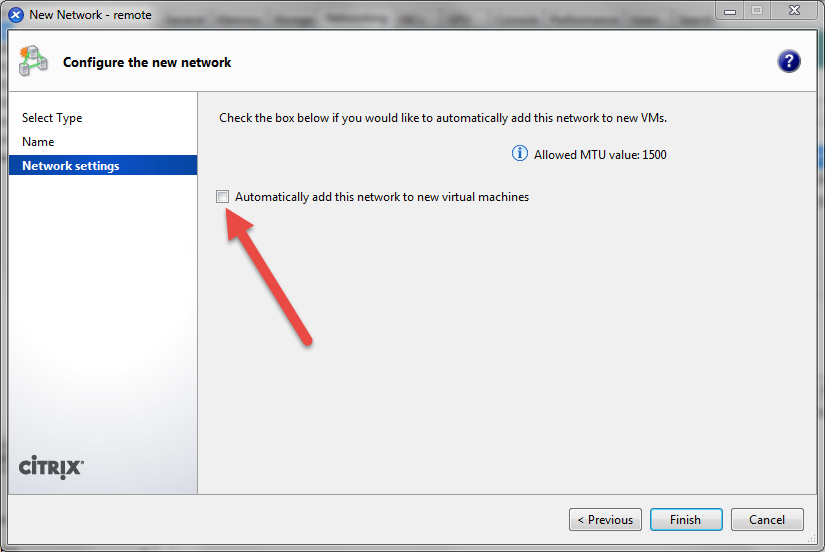
Now you have your internal network completed.
Adding a partition: http://www.howtogeek.com/106873/how-to-use-fdisk-to-manage-partitions-on-linux/
Automatically mounting a partition: https://community.linuxmint.com/tutorial/view/1513
Now one pointer I would give here is to mount it somewhere familiar - I personally mount mine to “/mnt/ISOs” as an example.
Once you have your partition created and set to auto-mount to a local path, we’ll create our LocalISO store as outlined here: http://www.riverlite.co.uk/blog/xenserver-creating-a-local-iso-library/ - he also has a great explanation about how to download ISOs directly to the ISO store using wget - highly recommended read.
There are other options available that we might explore in the future - like Sophos UTM (Home edition is free, which is perfect for learning in a lab), or even PFSense.
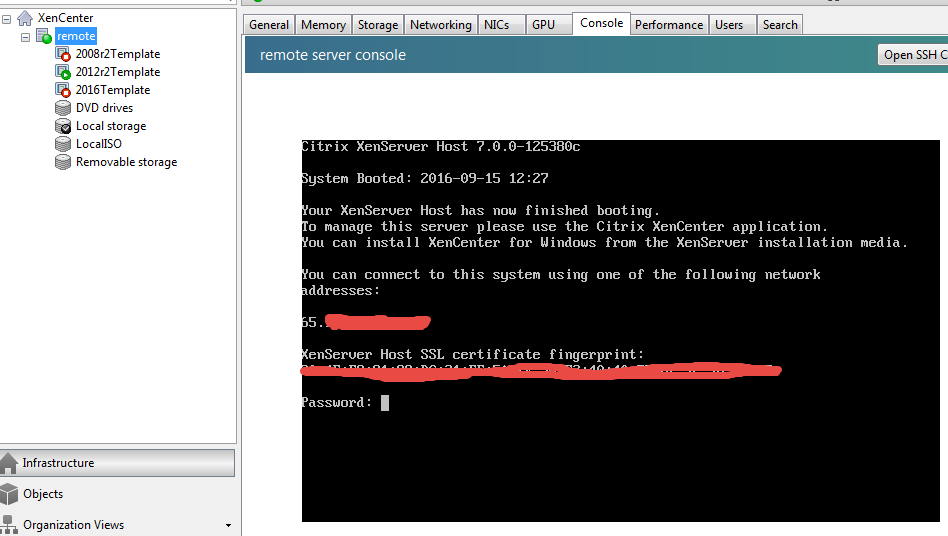
Now his approach is for a fictitious three LAN + one WAN setup - for our setup we’ll just need the WAN and a single LAN connection. For starters let’s download our VYOS install media. Open up the console to your server by selecting your XenServer from the list, selecting “Console”, and then typing in your root password:
Once you’re in the console, CD into the LocalISO store - this may be different for you depending on where you decided to store it - for me the command would be
cd /mnt/ISOs
After you change directory, you can use WGET to get the latest VYOS iso - as of the time of writing that was 1.1.7:
wget http://packages.vyos.net/iso/release/1.1.7/vyos-1.1.7-amd64.iso
Now wait for the download to finish and you’ll have your very own copy of VYOS in your ISO store. You’ll likely need to rescan your store by selecting “LocalISO” from your XenServer tree, selecting “Storage”, and then pressing “Rescan”
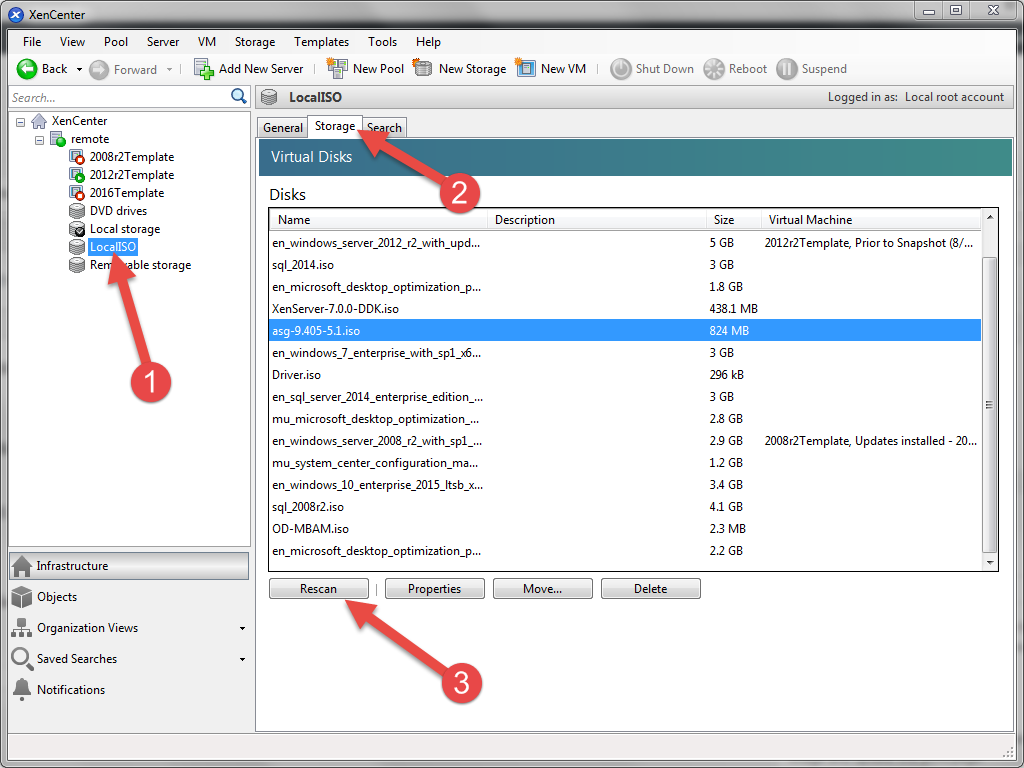
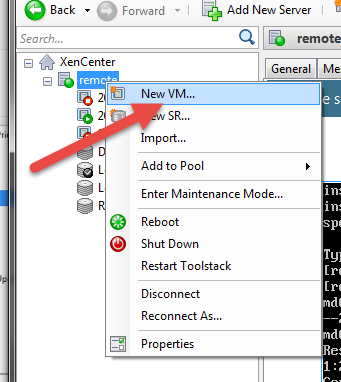
If all goes correctly you should see the ISO for vyos show up - if not, drop me a line below and I’ll help you troubleshoot. Now we need to create a new VM for Vyatta to live on - right click on your XenServer and select “New VM…”
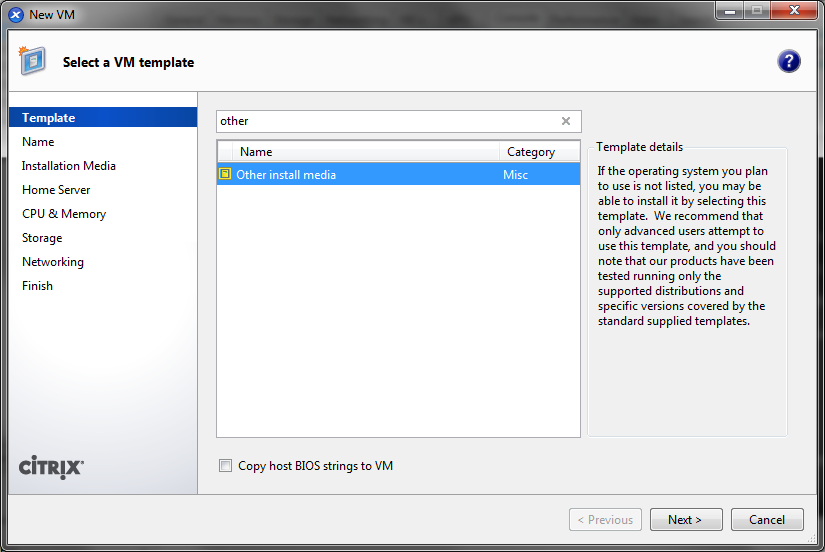
On the VM template screen, find “Other install media” and select “Next >”
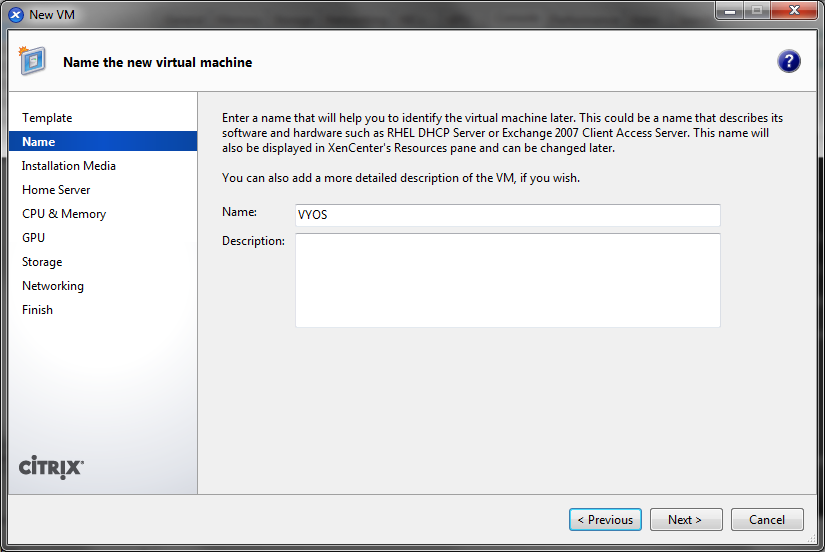
Give your VM a fun name… or just name it “VYOS” like I did.
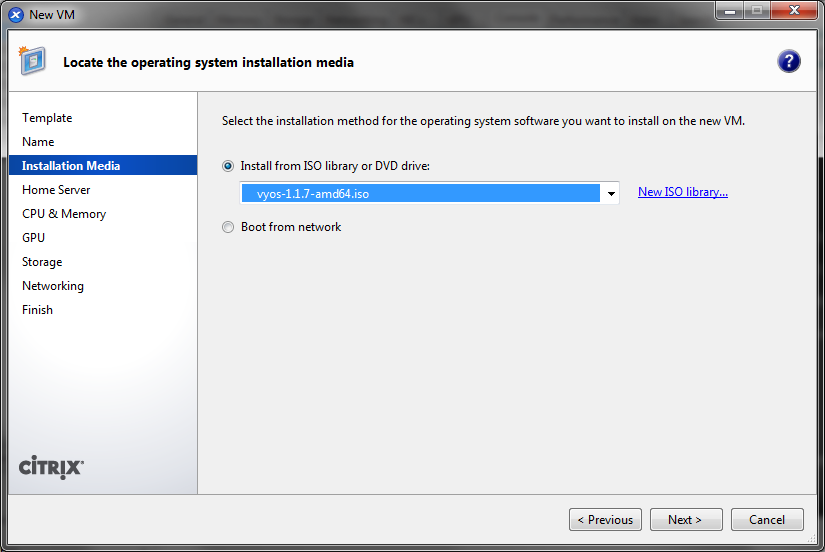
On the installation media screen, find your VYOS ISO and select that - then press “Next >”
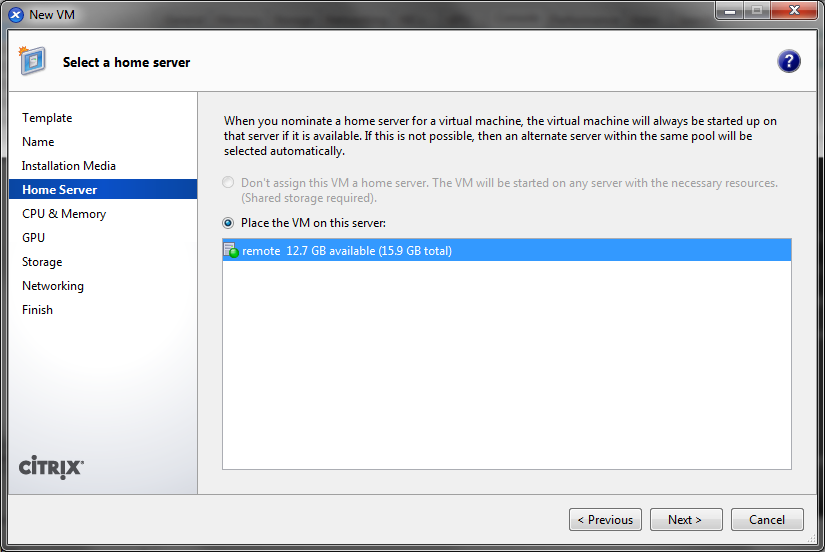
On the Home Server screen - assuming that you only have one XenServer - just press “Next >”
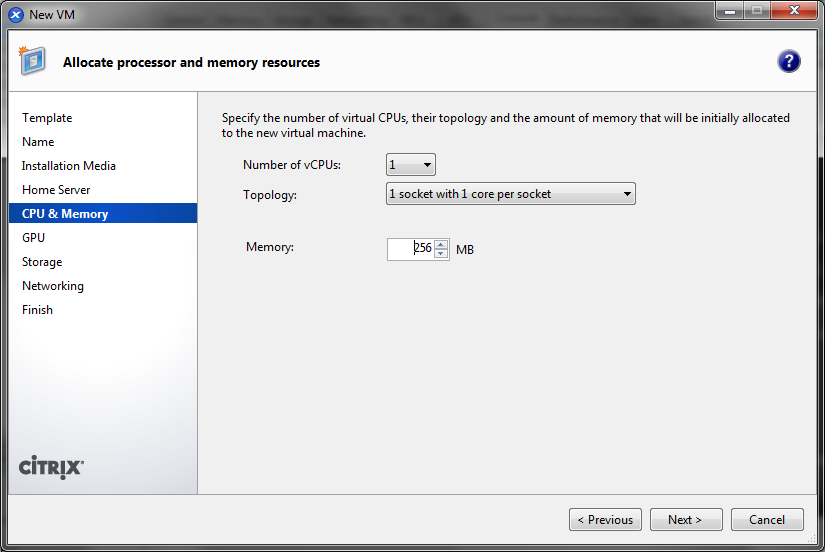
On the CPU & Memory page, you can stick with the default 1 processor and 256 MB of memory - the thing really doesn’t need that much to run:
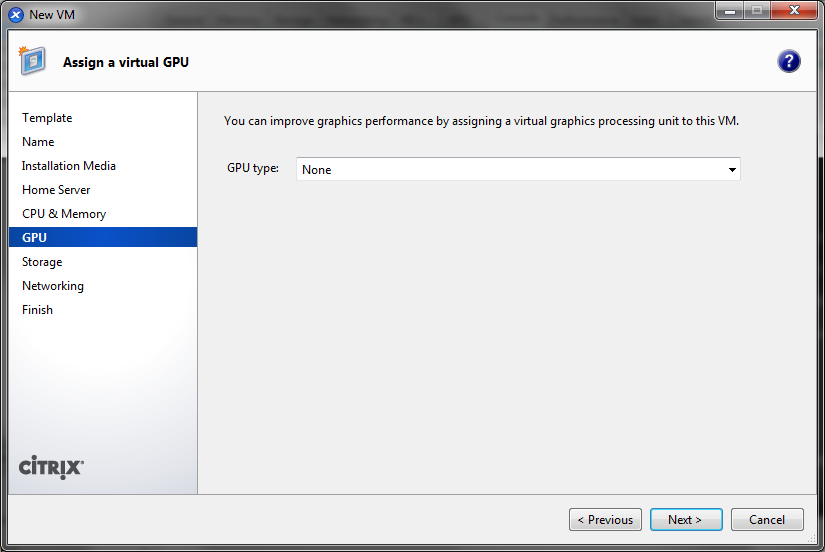
If you have a GPU to assign, don’t do it here - that’d just be silly.
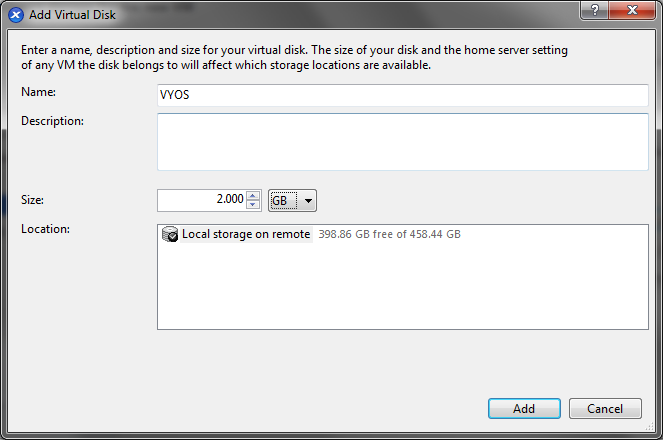
Now on the Storage page, press “Add…” and create a new virtual disk for your VM. 2GB will be more than sufficient for VYOS.
After you press Add it should show up in the list:

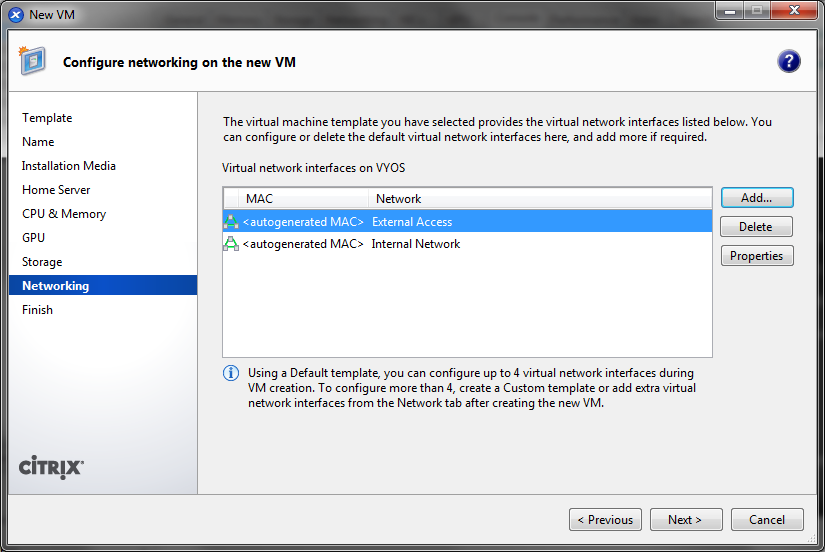
On the Networking page, by default you may see both your “External” and “Internal” networks added. If not, you can easily add them by pressing the “Add…” button and selecting the correct network:
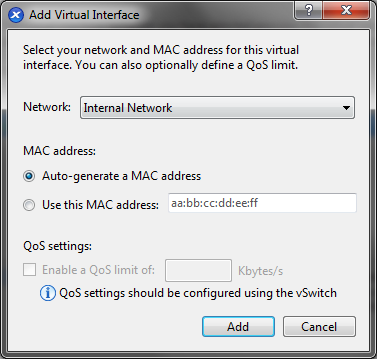
Here I have both my “WAN” and “LAN” attached
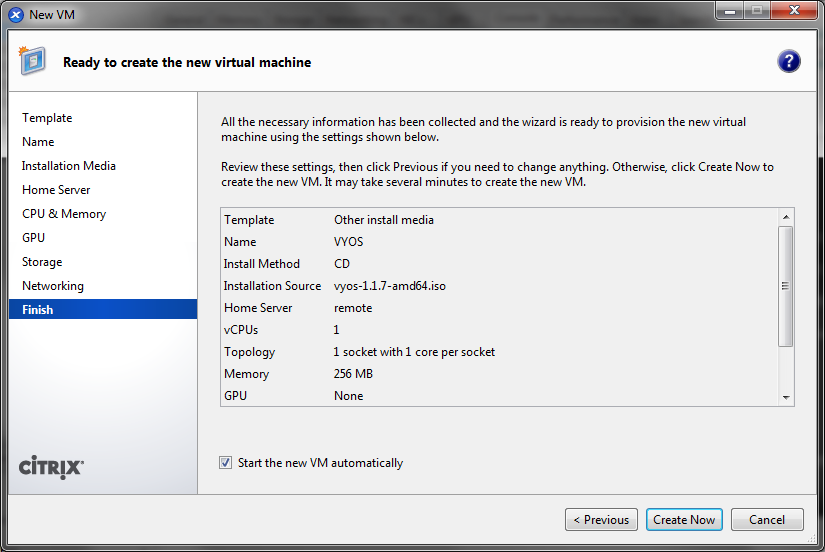
Finally, press Next > and then “Create Now” and your VM will be built!
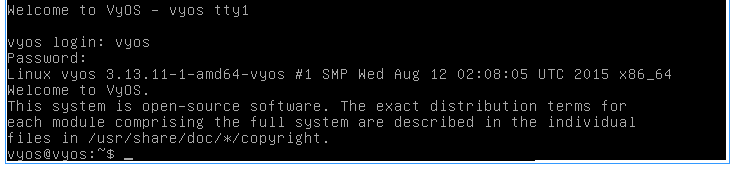
VYOS starts up with this lovely screen and then automatically brings you to a logon page
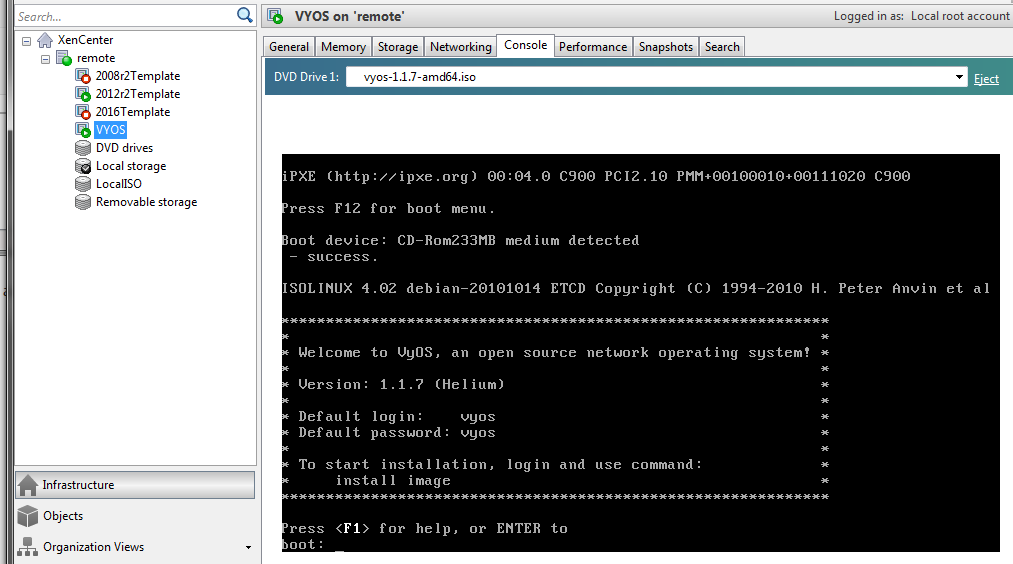
Logon to your VYOS instance:
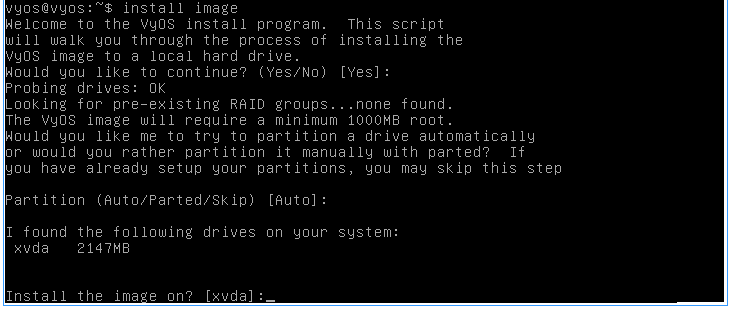
Now we’re going to install Vyatta by typing
install image
and press enter when it asks you if you want to continue. You’re also going to press enter when it asks you about the partitions, and then enter again when it asks you which disk to install it on:
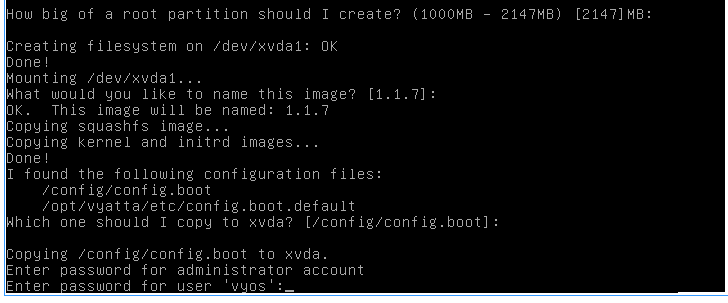
You will have to type “Yes” to confirm that it’s going to erase all the data on an empty drive, and then it will ask you some more default questions (how big a partition, what to name the image, and where should it copy the config file). Select the defaults (press ENTER) and then choose a password for your install
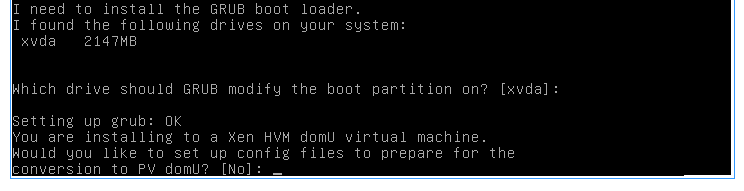
Finally a couple more default options (which drive should GRUB modify, and setting up config files to prepare for XenServer domU):
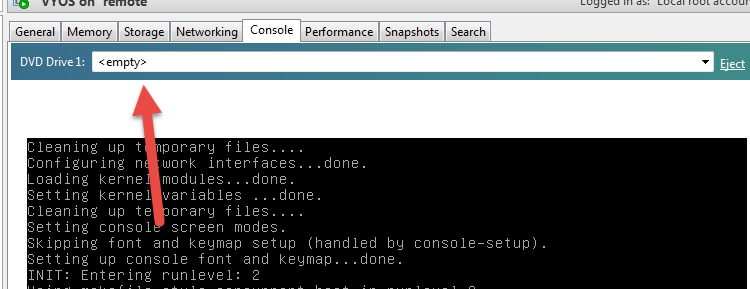
Finally the install will complete - reboot the machine by typing
reboot
yes
and then remove the media from the disk drive by selecting <empty> from the console:
Now the machine is going to reboot into VYOS and we can follow Johan’s guide to configure our WAN and LAN. If you want just a brief rundown of the commands to use:
configure

set interfaces ethernet eth0 address dhcp (assuming that your WAN has DHCP)
set interfaces ethernet eth1 address 10.0.0.1/8

set nat source rule 10 outbound-interface eth0
set nat source rule 10 source address 10.0.0.0/8
set nat source rule 10 translation address masquerade

commit
save

exit
reboot
I personally like using the 10.x.x.x network for my internal networks, but you’re welcome to use whatever private address range you prefer. You may also have to toy around with figuring out which adapter is eth0 and eth1 (if you have it configured for dhcp and you don’t see an IP address configured in VYOS by typing the command “sudo ifconfig |more”
Finally - if you haven’t noticed already - you have now officially created your first VM and installed an OS on it! Go you!
Share this post
Twitter
Facebook
Reddit
LinkedIn
Email