


So we pick up where we left off last time; the domain configuration is complete, so we’ve just finished our warm-ups now it’s time to get to the starting line (I’m not even sure if I’m using the right sports analogy here).

If you missed the first part of this series you can find it here - otherwise continue reading on to installation of the client side extensions for the workstations.
As far as I see it, there are three options to deploy this software to your workstation:
msiexec.exe /i "PATH\TO\LAPS.x**.msi" /qn /norestart REBOOT=ReallySuppress
replacing ** with the architecture you are installing 86 or 64.
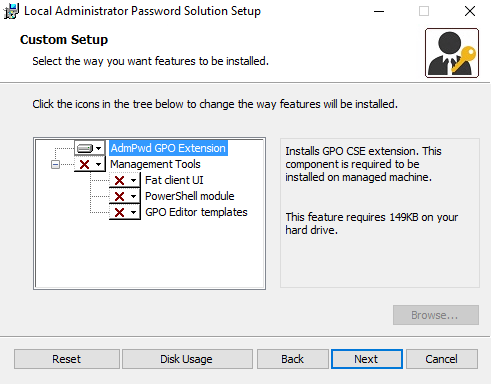
Once the installation is complete, you’re done.
GPO INSTALLATION
Open up a workstation with access to the group policy management console. If you’re an organization that has implemented AGPM (Advanced Group Policy Management), your policy creation steps will be different than described here. You can read more about AGPM in THIS series.
First things first we need to put the LAPS installers in a share accessible by all workstations. Now normally I would recommend keeping your NETLOGON folder as small as possible due to potential replication issues between DCs with large files, but since other solutions such as DFS will be very site specific we’ll use NETLOGON as the example for this guide. With that said, feel free to put it anywhere you like where a machine can access it when on the network without any special permissions.
Open up your NETLOGON folder, generally this is a share referenced at the root of your domain - so in my example it is \lab12.ziehnert.com\NETLOGON

Now in an effort to keep things clean, we’re going to create a new folder called “LAPS” and then inside that folder we’ll drop both the LAPS.x64.msi and LAPS.x86.msi inside this folder. Again, this could be different depending on how your company chooses to manage file shares - don’t just take my word for it.
After you’ve copied the files open up the Group Policy Management Console, right-click on “Group Policy Objects” and then press “New”. Give the GPO a nice name that suits your organization and then press OK. Now find the policy that you just created in your list of policies, right-click on it, and press “Edit…”.
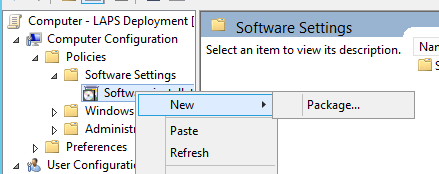
Now expand “Computer Configuration” > “Policies” > “Software Settings”, right click on “Software installation” and select “New” > “Package…”.
Now locate the files that we just copied into the share and select “LAPS.x64.msi”. Select “Assigned” as the deployment method and then click okay. Super easy stuff here people.
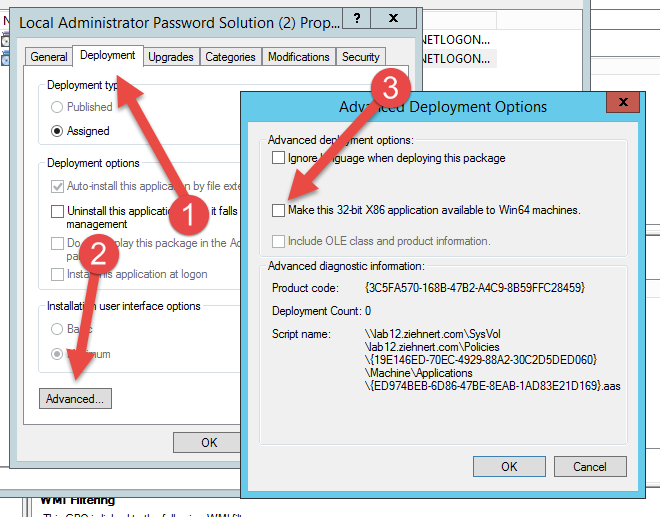
For x86 the process is nearly identical, ConfigMgr after adding the package, find it in your list and double click on it. Select the “Deployment” tab, press the “Advanced…” button, and UNCHECK the box labeled “Make this 32-bit X86 application available to Win64 machines.” (otherwise you’ll get both installed on your x64 machines and you’re gonna have a bad time).
Now that these policies are created link it to an OU with computers that you wish to deploy the client to, and that software should install on your next GPO refresh cycle and reboot. You can always force the GPO refresh to take place faster by running “gpupdate /force” from the command line.
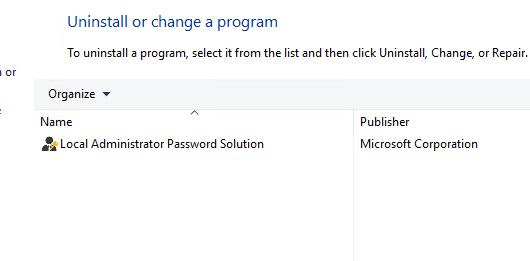
And with that we’re done installing.
Obviously most of this should be familiar to you as desktop administrators/engineers/analysts/architects, so hopefully the level of boredom with this post was kept to a minimum. In the next and final post of this series, we’ll talk about installing the group policy template, creating the configuration GPO, and then installing and testing the AdminUI client to view the passwords.
Happy admining!
Share this post
Twitter
Facebook
Reddit
LinkedIn
Email